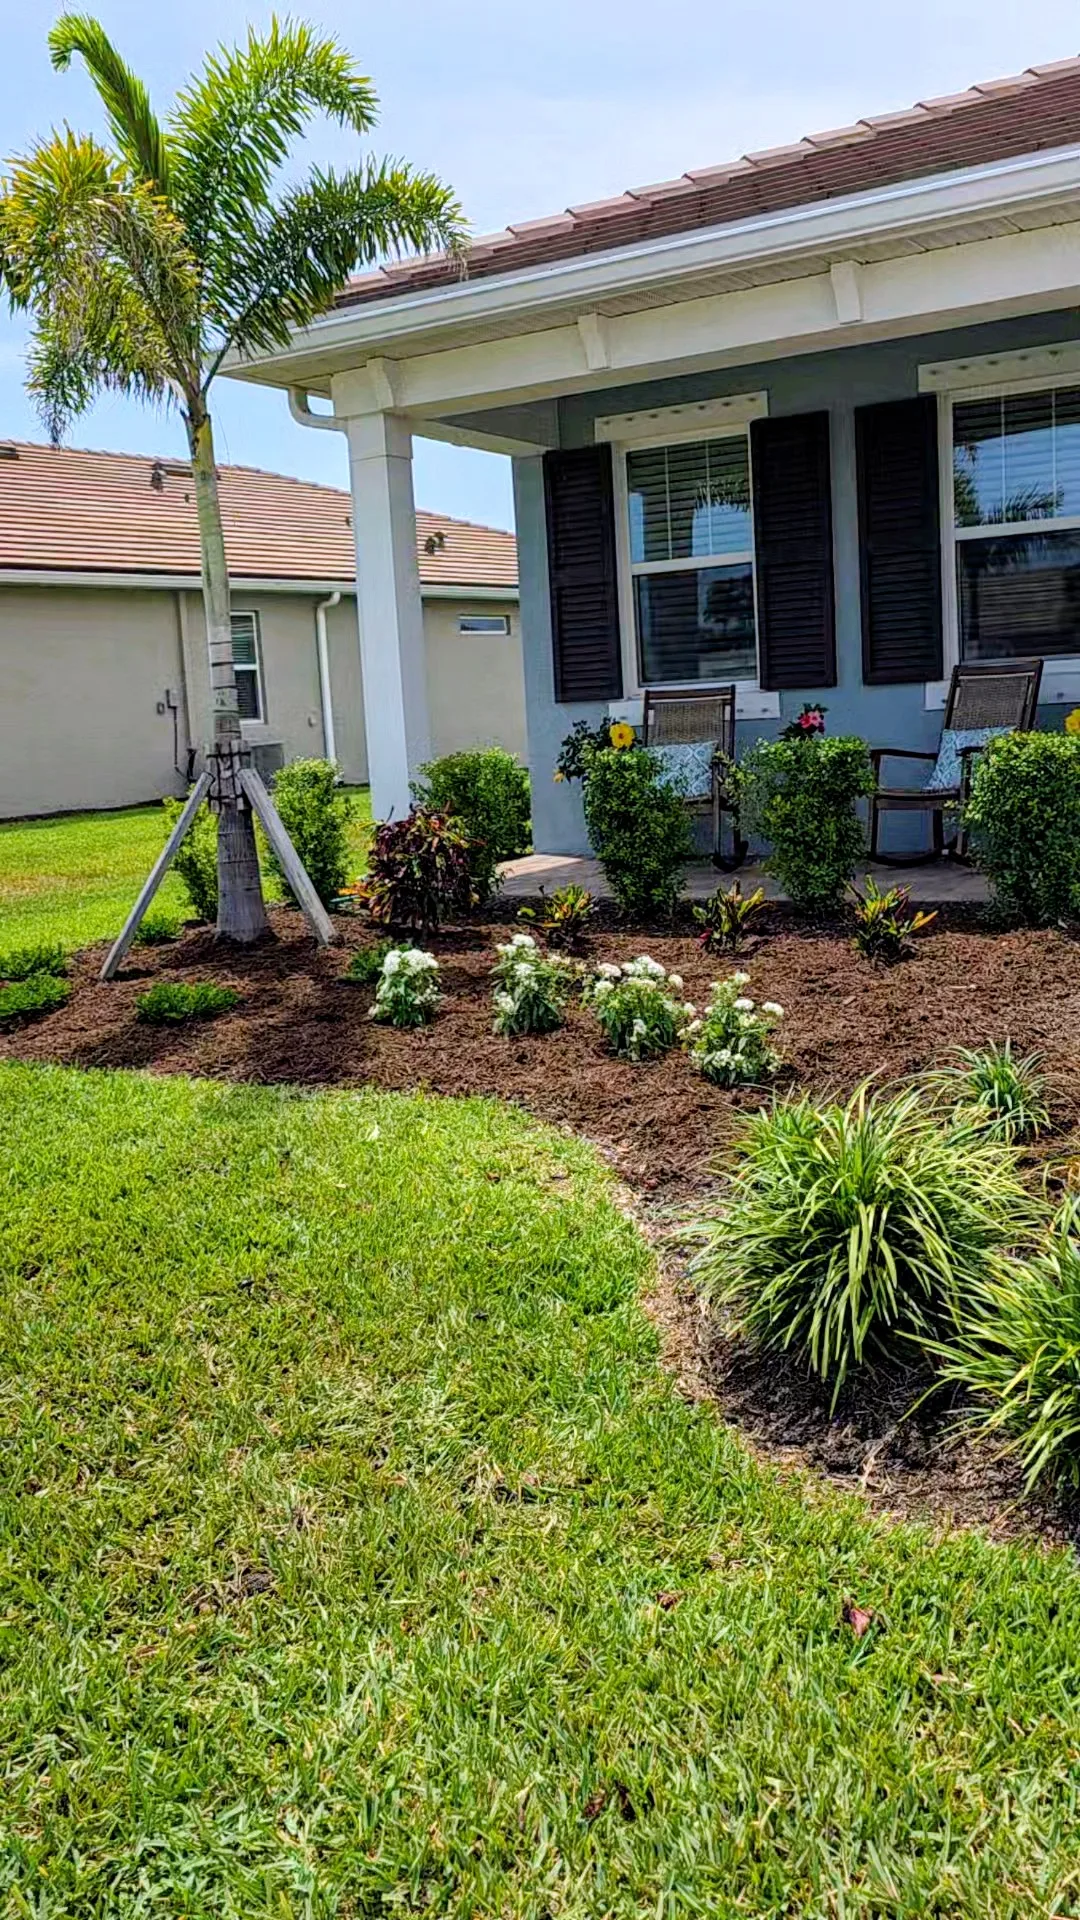
Every summer we get calls that go something like this: "We had sod put in two months ago, and now half of it is brown and dried out. The company said it was probably a bad batch."
It's not a bad batch. In four-plus years of installing sod across Southwest Florida, we've never once received a bad pallet. What we have seen — dozens of times — is perfectly healthy sod laid on a Thursday that looks brown and crispy by August because of three entirely preventable mistakes.
Here's what those mistakes actually are, and what to do instead.
First: understand what you're asking the sod to do
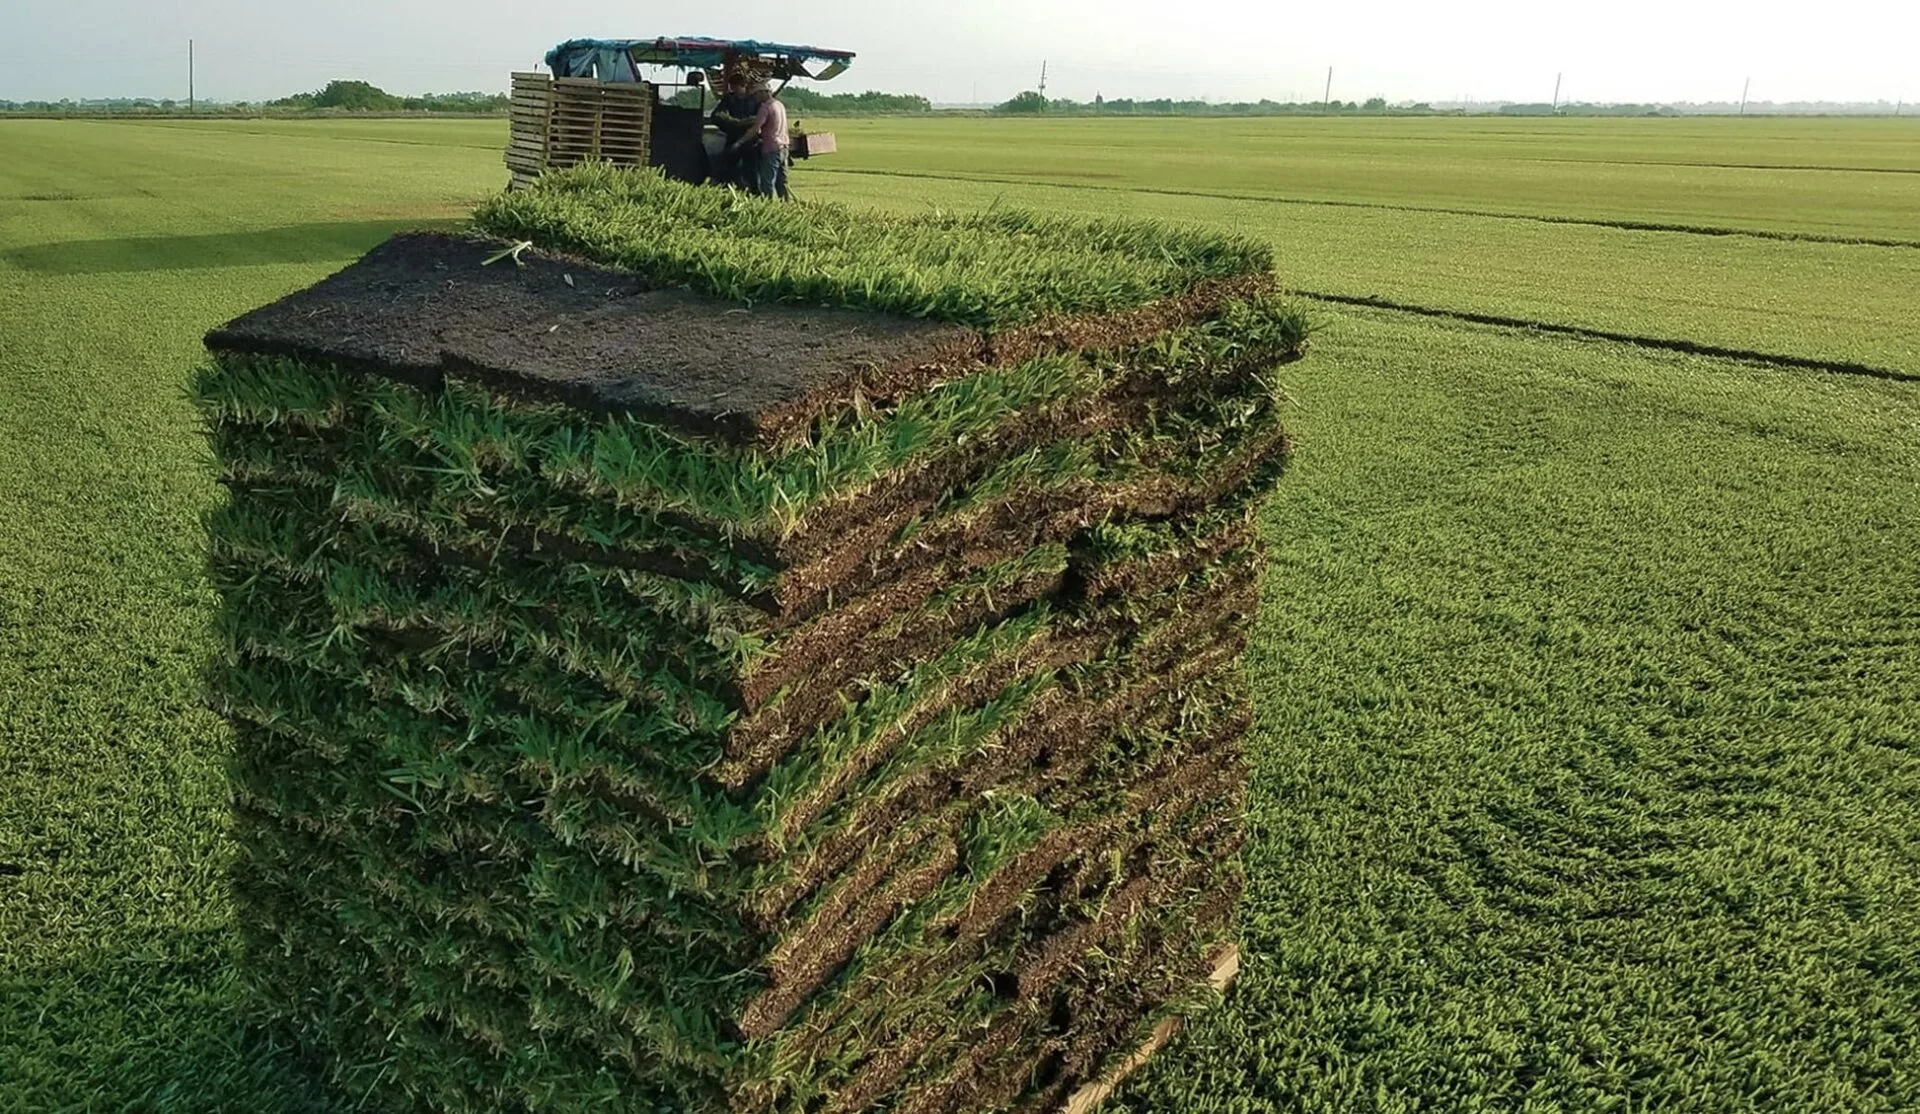
When sod gets cut from a farm and loaded onto a pallet, the roots are exposed. By the time it reaches your yard, the grass is already stressed. In Florida's June–September heat — routinely 90°F+, with direct sun and UV intensity unlike anywhere else in the continental US — that stress multiplies fast.
St. Augustine is actually well-suited to Florida's climate once it establishes. It handles the humidity, it tolerates our sandy soil, and it recovers well after the afternoon rains start. The problem is that critical gap between "laid on the ground" and "established." That transition typically takes 3–4 weeks. Those weeks are when nearly all failures happen.
The good news: none of what follows requires special equipment or landscaping knowledge. It just requires paying attention for one month.
Mistake #1: Underwatering in the afternoon
Most people water in the morning, which is correct. What they skip is the second afternoon watering for the first two weeks. On a 93°F July day in North Port, newly laid sod sitting on sandy soil with no established roots can go from adequately moist to bone dry within a few hours.
We're not talking about drowning the sod — overwatering causes its own problems (more on that below). We're talking about enough water to keep the soil moist 2–3 inches down throughout the hottest part of the day.
Weeks 1–2: Twice daily — morning and late afternoon (around 4 PM), 15–20 minutes per zone.
Weeks 3–4: Once daily in the morning, 20–25 minutes per zone.
After day 30: 2–3 times per week, following SWFWMD watering restrictions.
The test is simple: press your finger into the soil between sod pieces. If it's dry an inch down and the day isn't over yet, run your irrigation for another cycle. If it's still moist, skip it. That's the whole system — moisture, not a rigid schedule.
Soil that stays soaking wet for days at a time is just as dangerous as soil that dries out. It promotes fungal disease and root rot. If water is still pooling 30 minutes after you stop irrigating, you're overwatering.
Mistake #2: The sod isn't actually touching the soil
This one surprises people. You can do everything right on the watering side and still lose sod because there's an air gap between the bottom of the turf and the soil surface. It sounds like a basic installation error, but it happens for a few reasons:
- Soil wasn't graded flat before installation — the sod bridges over low spots
- The soil was too dry and hard at install time — the sod sits on top rather than making contact
- Sod pieces at the edges or seams weren't pressed down firmly
Without direct soil contact, the roots have nothing to grow into. The sod may look fine for a week or two as it uses the nutrients in the pallet — then it dies all at once.
If you're doing your own install, rent a sod roller and run it over the entire area immediately after laying. If you hired someone, ask beforehand whether they include rolling in the scope. Anyone who's done this properly doesn't skip that step.
"They did a great job of resurfacing our lawn and laying sod. Dennis is very professional and hard working. He and his crew are meticulous with detail and worked long hours into the evening to make sure it was a job done well."
— A Yurchak, Google ReviewMistake #3: Mowing too soon (or too short)
The instinct to mow new sod the second it looks a little shaggy is strong. Don't. Mowing puts mechanical stress on grass that is using every available resource to push roots down. Cut it early and you're asking it to recover from two different traumas simultaneously.
The timeline:
- Day 1–14: No mowing. Stay off the sod as much as possible.
- Day 14–21: Do the tug test — grab a piece of sod and pull gently. If it lifts easily, roots aren't established yet. Wait.
- After the tug test passes: First mow at the highest setting on your mower. For St. Augustine, that's typically 3.5–4 inches.
This is true for established grass too, but it matters even more during establishment. If St. Augustine gets long, raise the deck height for a few cycles to bring it down gradually rather than scalping it in one pass.
What we do vs. what usually goes wrong
Here's the short version:
The fertilizer point is worth calling out specifically. We see a lot of people apply starter fertilizer the week after installation because they read that it helps roots grow. It does — but it also pushes top growth at a time when the grass can't handle the added stress. Wait until roots are established, then fertilize.
What we do on every install
When Epic Horizons puts in sod, here's the sequence we follow — every time, no shortcuts:
-
Grade and prep the soil
We remove old material, level and grade the surface flat for full soil contact, and roll out the air gaps. You can't fix air gaps after the sod is down.
-
Pre-wet the soil
Dry, hard soil is hostile to new roots. We wet the surface before laying so the sod touches something it can actually grow into.
-
Stagger seams, fill gaps
Like brick laying — staggered joints are more stable. Any gaps get filled with soil to prevent drying.
-
Roll the entire area
Every install gets rolled. Forces soil contact everywhere. Takes 20 minutes and makes a significant difference to the outcome.
-
Water immediately
Sod gets its first water before we pack up and leave. We walk the homeowner through the watering schedule before we go.
The last step is the one that matters most beyond the install itself. A homeowner who understands the watering schedule and sticks to it for 30 days will have a lawn that lasts. One who doesn't might be calling us in September wondering what went wrong.
"Epic Horizons did an excellent job at sodding an area of my yard that was in terrible shape. It looks amazing. Dennis and his crew are professional, excellent at communicating about the job and the prices are great too."
— Sandygee, Google ReviewQuestions we get a lot
Weeks 1–2: Twice daily, morning and late afternoon, about 15–20 minutes per zone. Weeks 3–4: Once daily in the morning. After 30 days: Transition to 2–3 times a week, following SWFWMD watering day restrictions for your area.
Yes — summer is actually fine for St. Augustine. The warm soil and afternoon rain help establishment. The risk is the intense direct sun on sod that hasn't rooted yet. The season isn't the problem; proper watering in the first 30 days is the variable that determines success.
With correct watering, St. Augustine typically roots well enough to walk on after 3–4 weeks in Florida's climate. Full, deep root establishment takes closer to 8–12 weeks. The 3-4 week mark is when you can switch to a normal maintenance schedule.
Depends on how far along it is. If it's been less than 2–3 weeks and the browning is limited to surface leaves, start watering more aggressively and you may recover it. If the sod pulls up without resistance and the underside looks white or gray, the roots have dried out and that section is dead. Dead patches will need to be replaced — but the surrounding sod can still be saved if you fix the watering immediately.
In some ways, yes. Bahia is more drought-tolerant once established, and it's more forgiving of poor soil conditions. But it's coarser, it's not as lush-looking, and it's not HOA-approved everywhere. For most residential yards in our service area, St. Augustine is the better long-term choice — you just have to get it through those first 30 days.